Signing your iOS App correctly for AdHoc testing can be tricky. One misstep and your testers won’t be able to install the app on their devices and you’ll be back at square one trying to get it working. If, however, you follow this guide step-by-step, you can’t go wrong.
Part One – Setup a Distribution Certificate [Once Only]
The first thing you need to do is create a ‘Distribution’ certificate. You only need to do this once – the same certificate will be used for every App you want to distribute AdHoc. It will also be used for Distribution to the iTunes Store. XCode will prompt you to create these if you enter your team details in the ‘Accounts’ section. If you already have a valid Distribution certificate, skip to Registering an App ID.
1) Login to ‘Certificates, Identifiers & Profiles‘ in the Apple Developer Portal.
2) Click on ‘Certificates’ and click the ‘+’ button

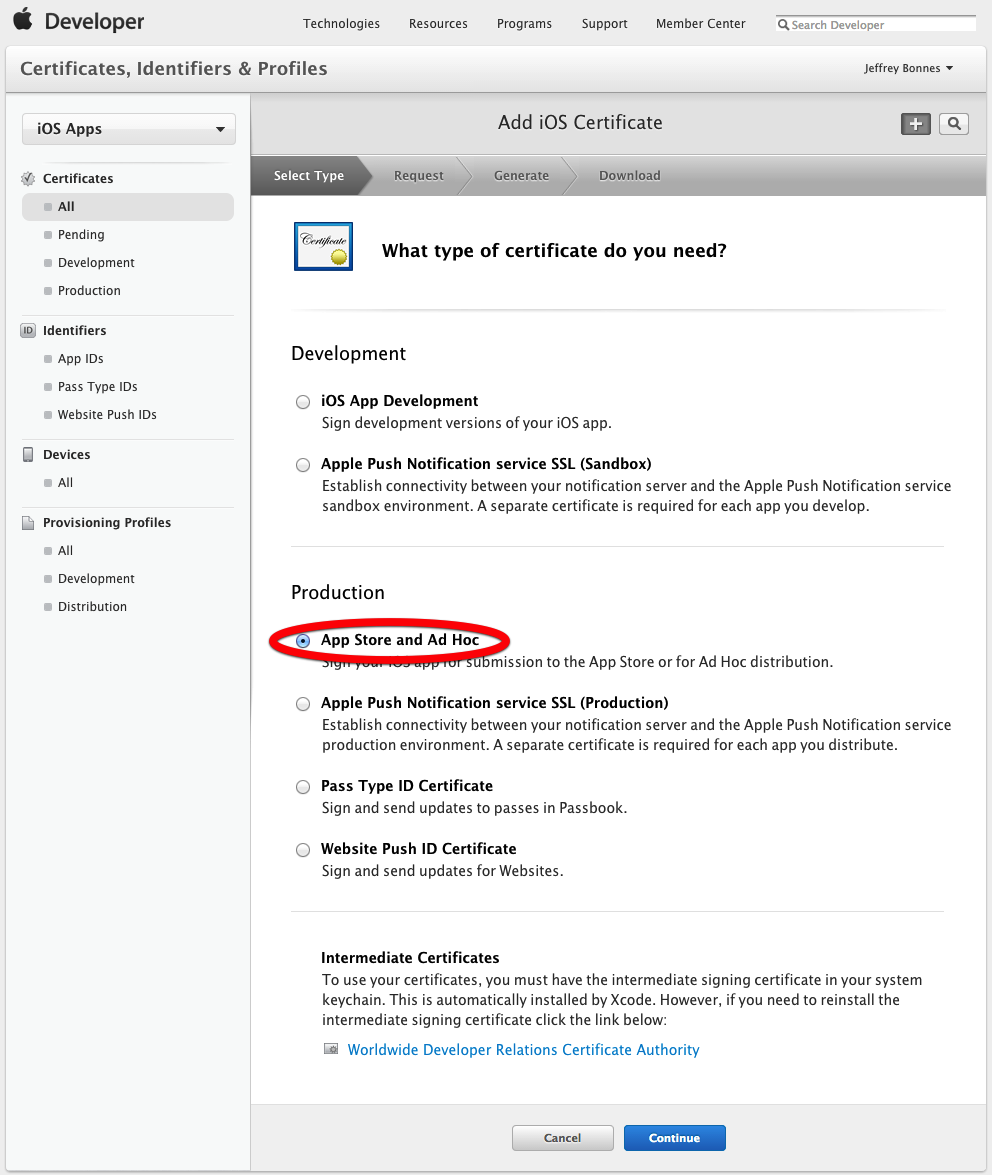
3) Choose Production > App Store and Ad Hoc for the type of certificate.
4) Follow the directions on how to create a Certificate Signing Request (CSR) and click ‘Continue’.

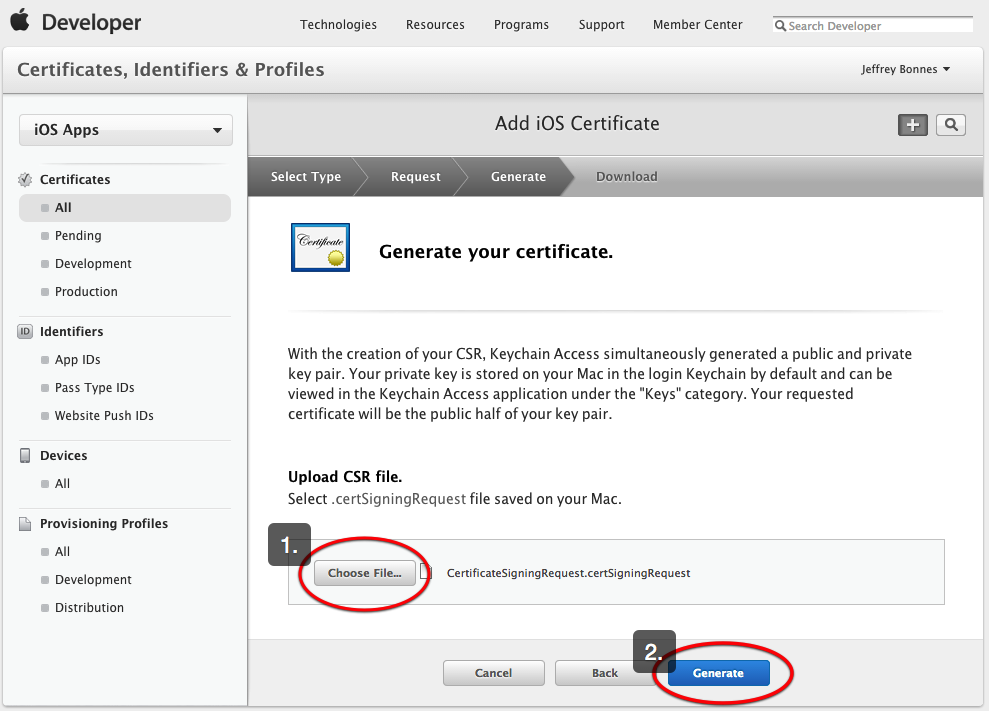
5) Upload the CSR you created and click ‘Generate’.
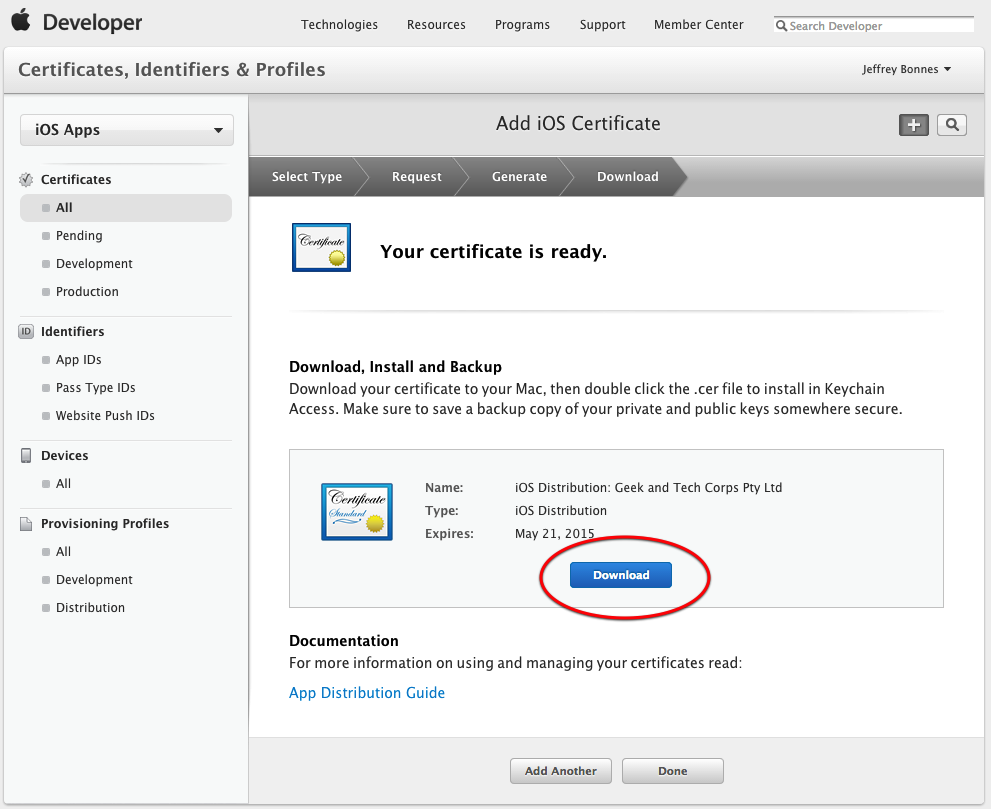
6) You’ll have to wait a short amount of time for the Certificate to generate. Then the screen will refresh – click the ‘Download’ button. The certificate will download to your computer.
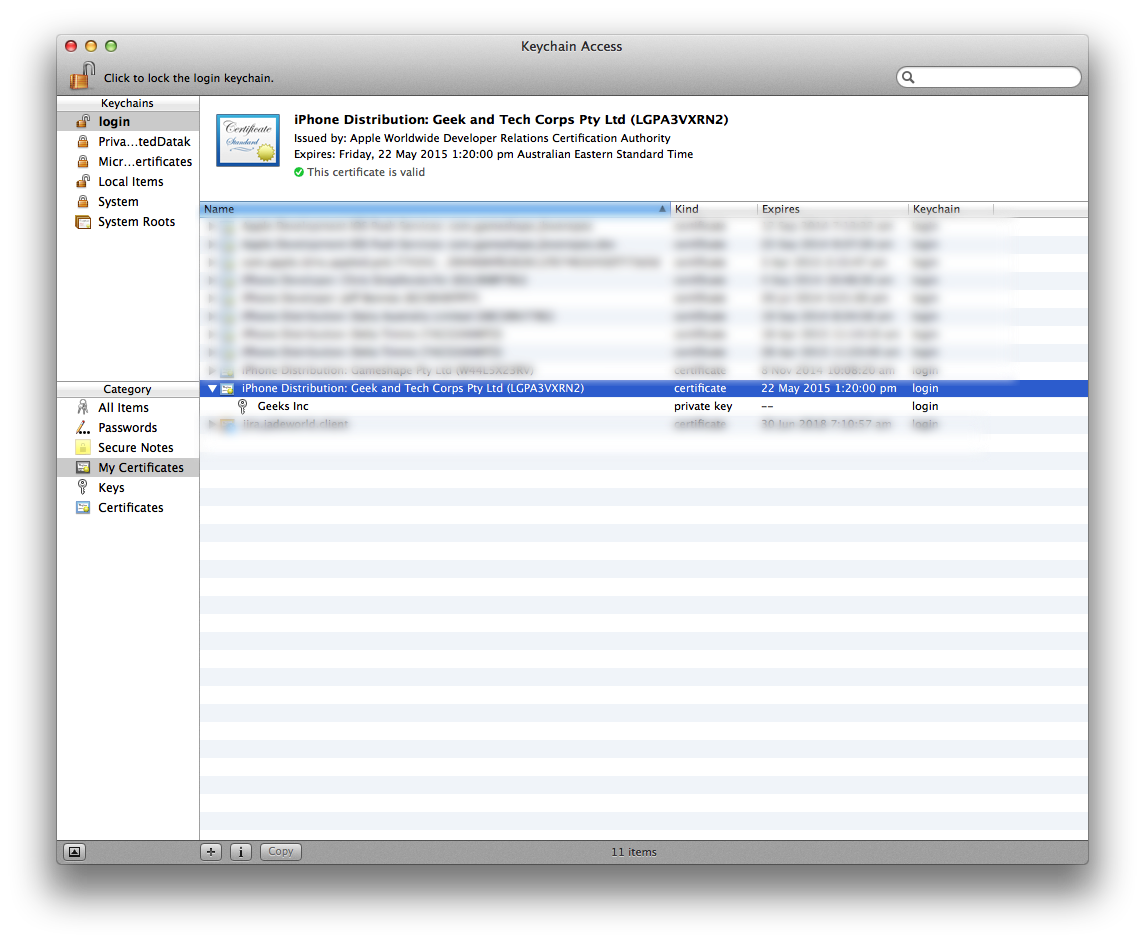
7) Once the Certificate has downloaded, open it to install it in your Keychain. If you open Keychain Access, you’ll see the ‘iPhone Distribution: Your Company Name (XXXXXXX)’ certificate in your ‘My Certificates’ tab.
Part 2 – Registering an App ID
The next step is to set up your ‘Identifier’ – which is really your application.
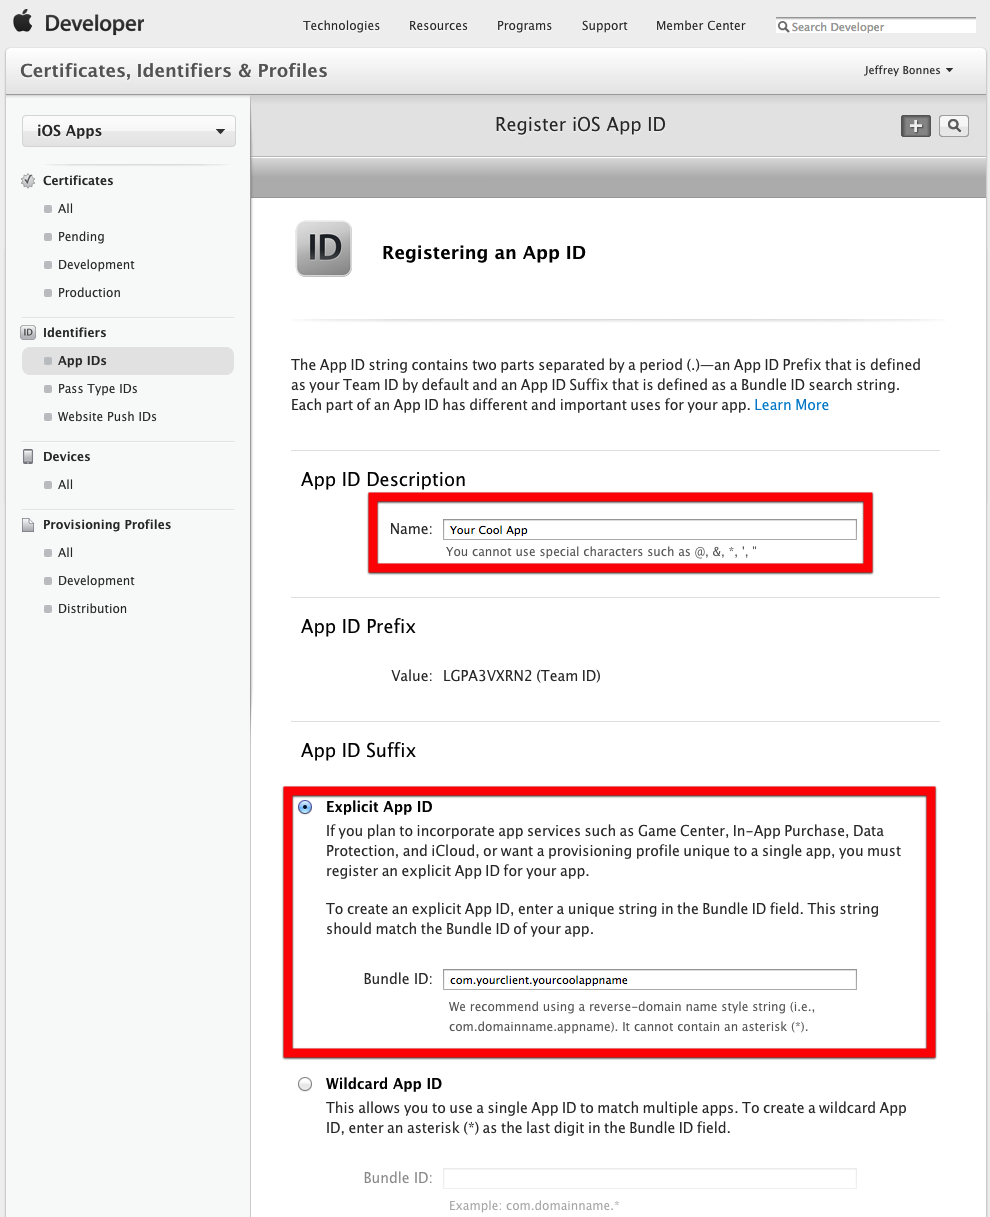
1) Click ‘Identifiers > App IDs’ then click the ‘+’ button.

2) Enter the name of your App and your ‘Bundle ID’ in the App ID Suffix. Make sure you have ‘Explicit App ID’ selected. Then click ‘Continue’ at the bottom of the page.
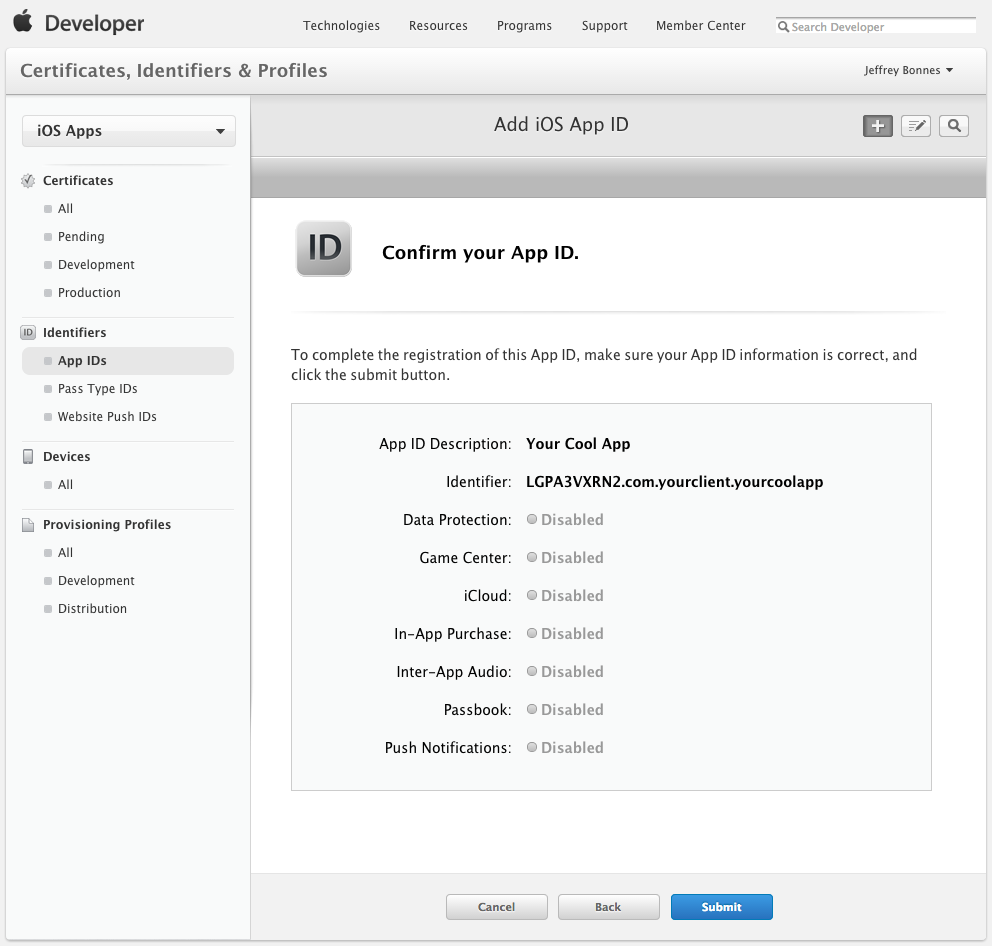
3) Confirm the detail on the next screen, then click ‘Submit’.
That’s it! You can now create your AdHoc Provisioning Profile.
Adding A Device [Usually Not Needed]
Since Installr will manage adding devices to your Apple Developer Portal and Provisioning Profile, you don’t need to worry about adding a device. However, you do need to have at least one device to create a Provisioning Profile. If you already have a Device in your Apple Developer Portal (XCode will usually add one for you), you can skip to Creating an AdHoc Provisioning Profile
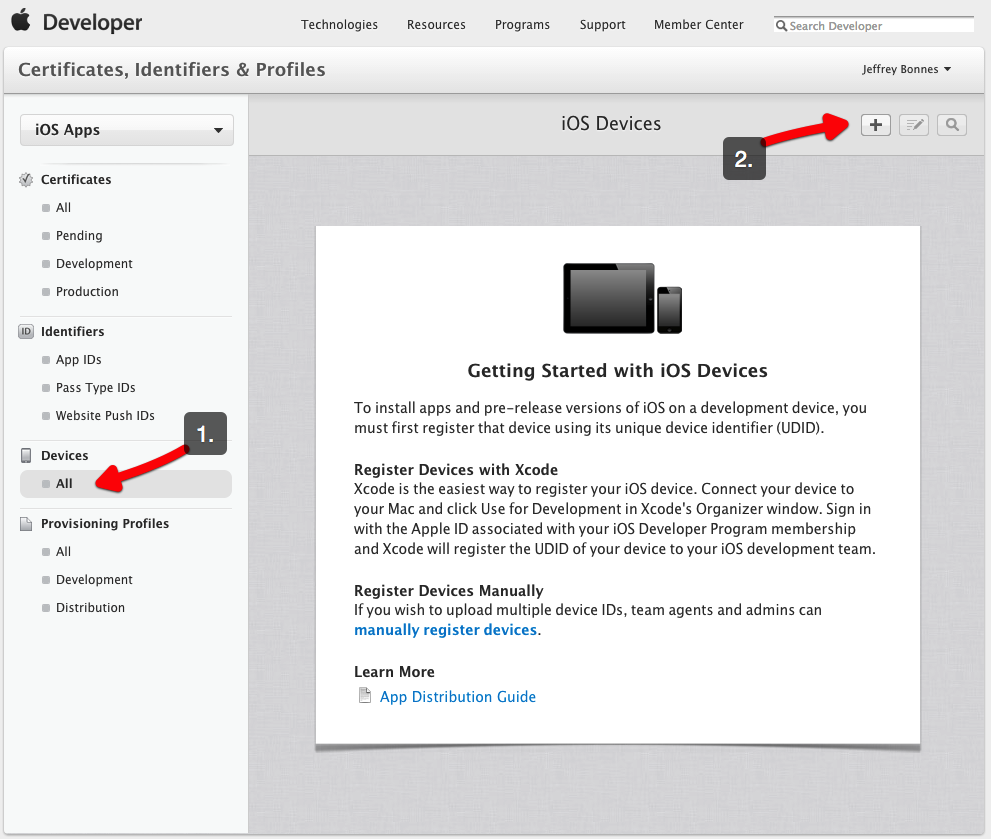
1) To add a device, click on ‘Devices’ in the left Navigator, then the ‘+’ button on the right.
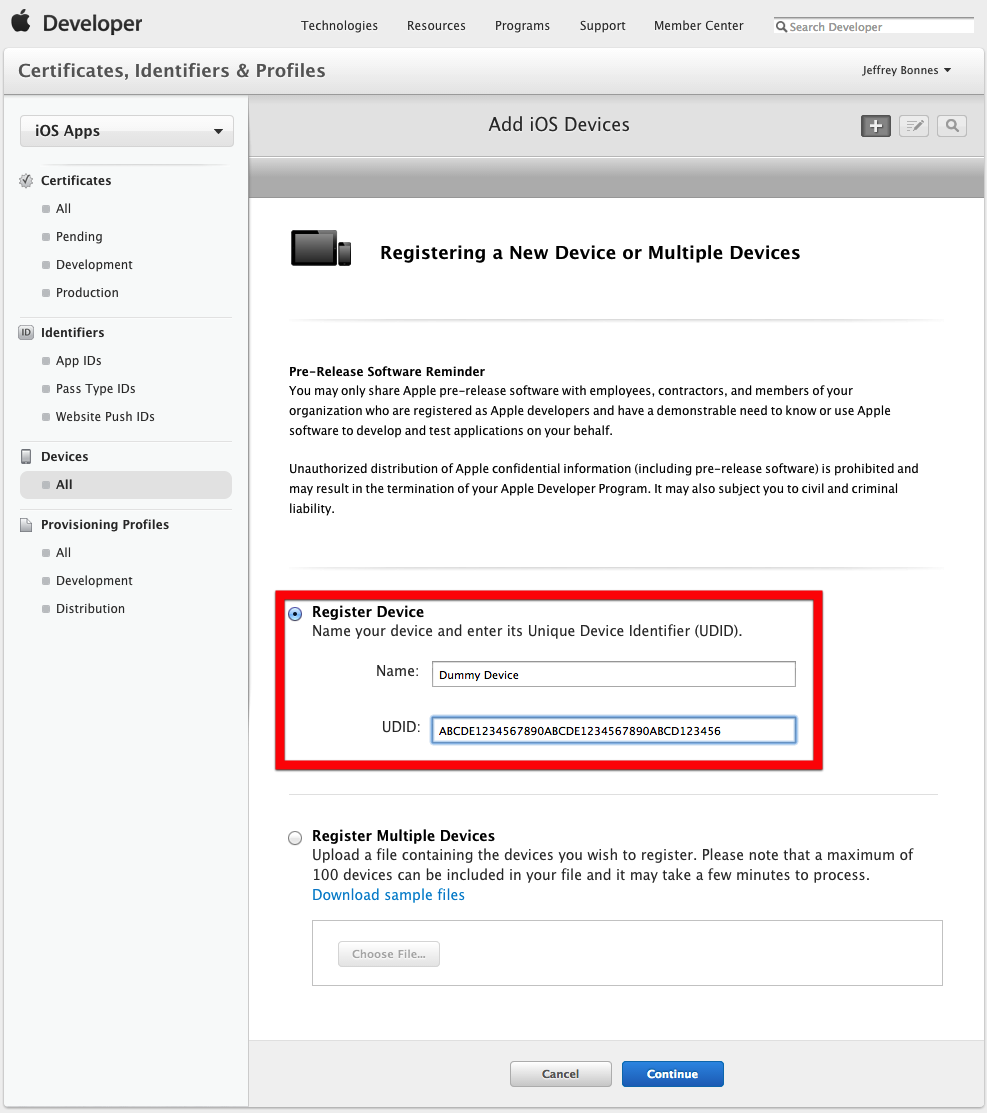
2) Enter the name for your device and the UDID. If you don’t have a real device to add, just enter a 36 digit dummy UDID. Then click ‘Continue’.
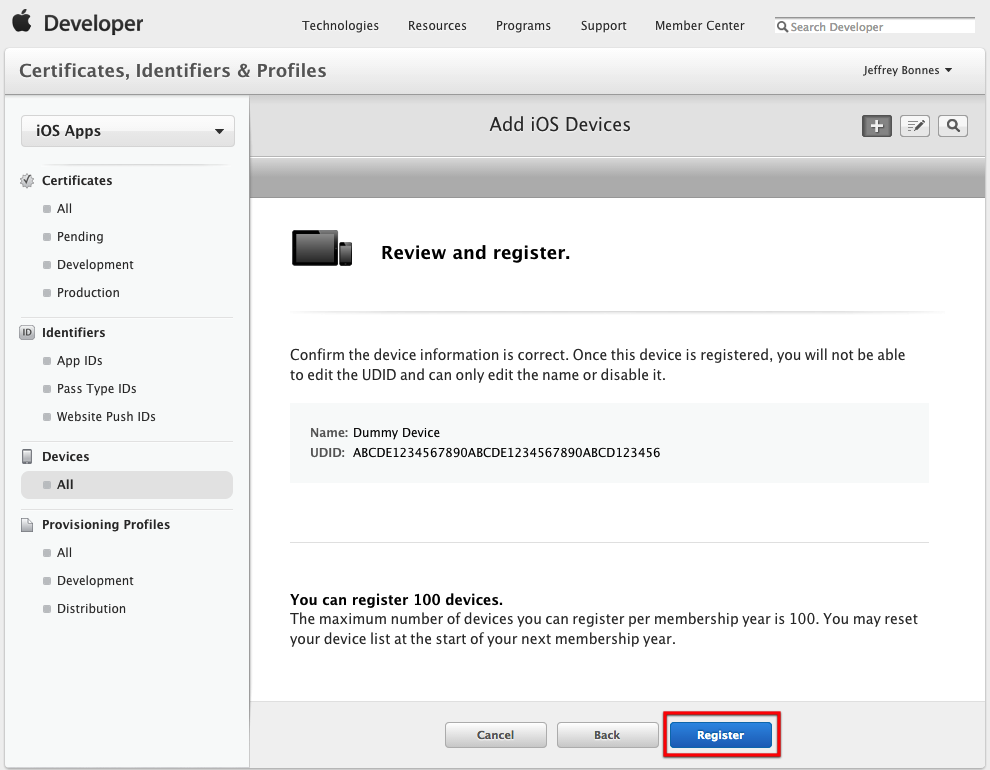
3) Confirm the details, then click ‘Register’.
Since you are using Installr, this is the last time you’ll need to manually add a device to your Apple Developer Portal.
Part 3 – Creating an AdHoc Provisioning Profile
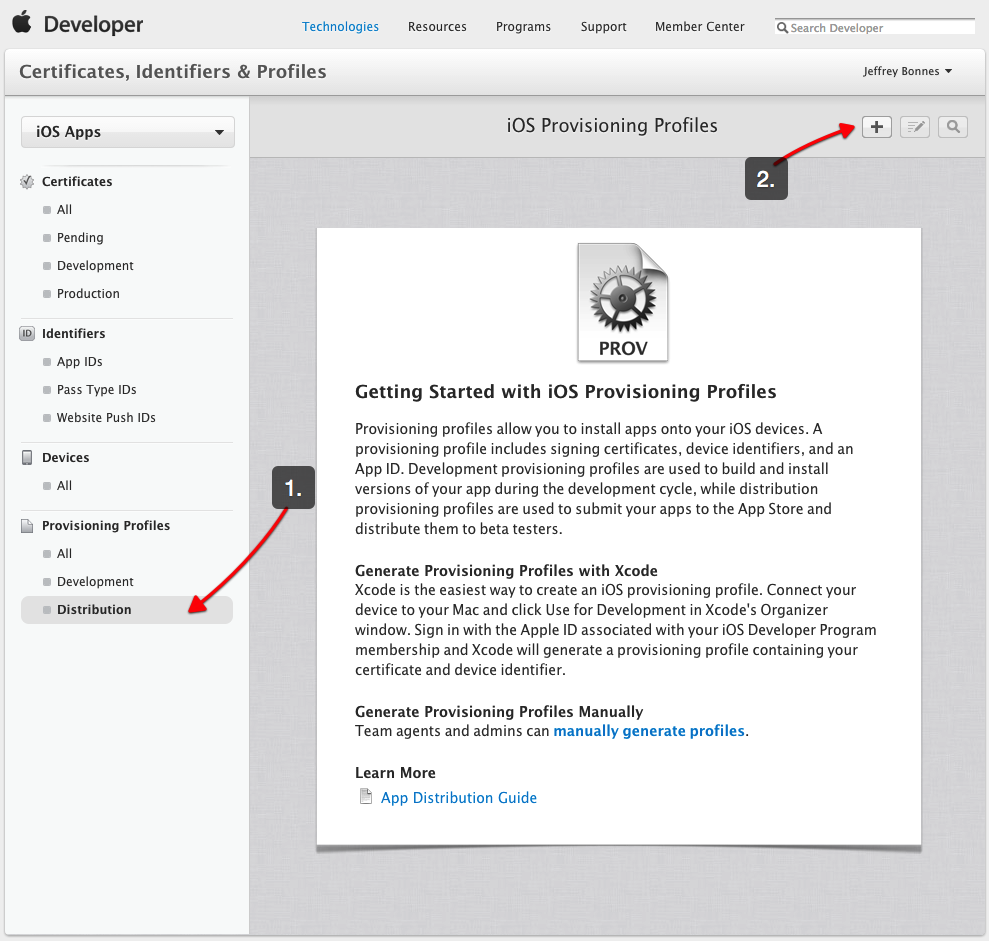
1) Click on ‘Provisioning Profiles’ and ‘Distribution’, then the ‘+’ button on the right.
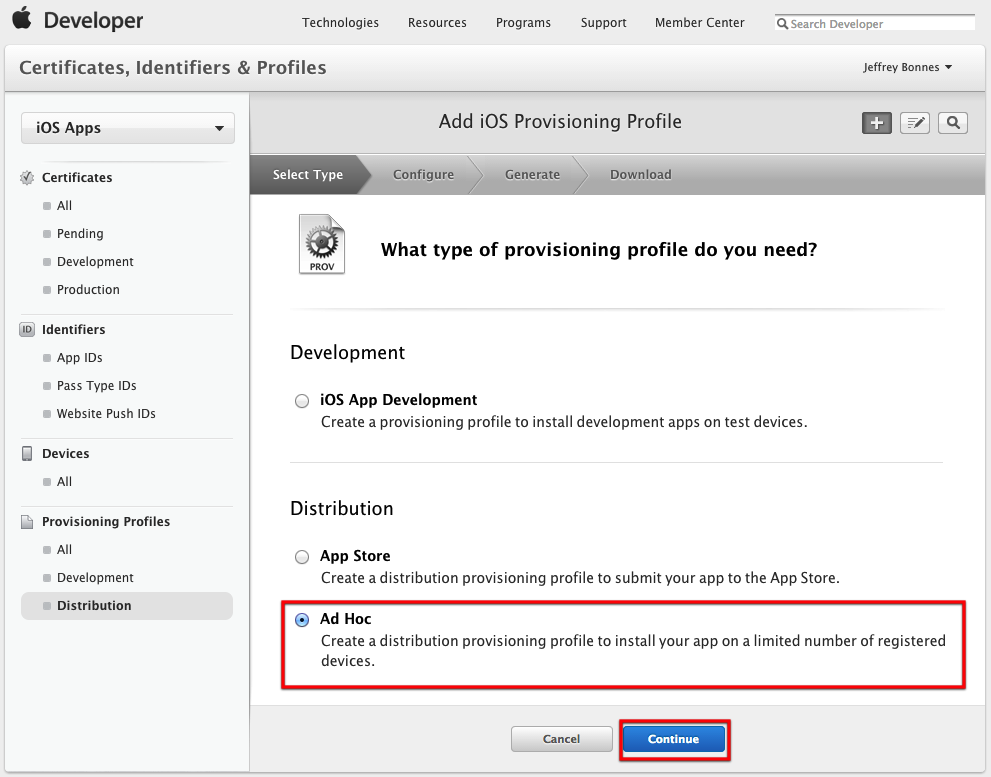
2) Select ‘Ad Hoc’ distribution and ‘Continue’.
3) Select your App and click ‘Continue’.

4) Select your Distribution certificate and click ‘Continue’.

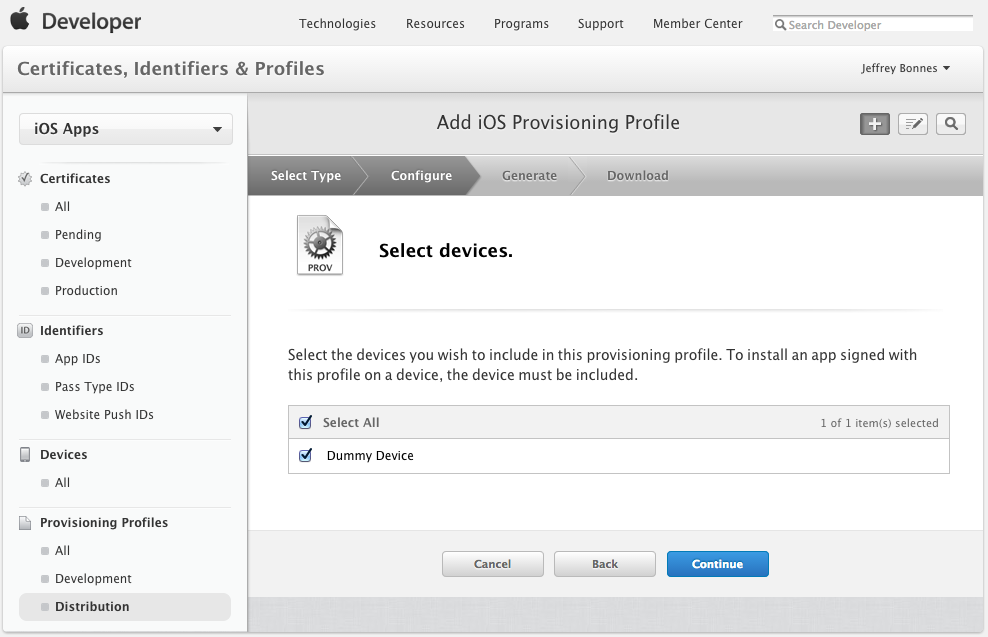
5) Select any devices you want have access to this app. Installr will automatically add new devices so you don’t need to worry about this too much.
6) Name your Profile. Recommended naming convention is 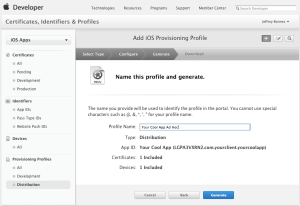 ](/wp-content/uploads/2014/05/name_profile.png)
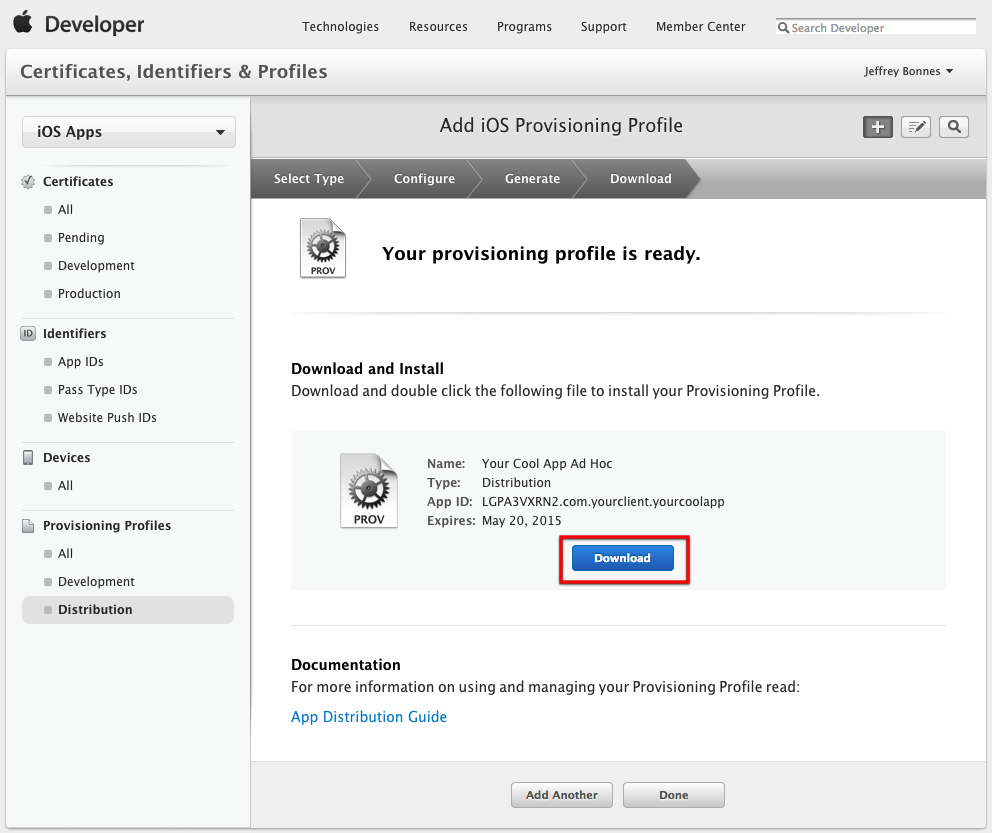
7) You’ll have to wait a minute for the Profile to be created, then the screen will Refresh. Click the ‘Download’ button.
8) Open the downloaded .mobileprovision file to install it on your machine. You are now ready to build your IPA!